
Staging environments are important when building software to enable you to rapidly prototype and release software. This is one of the methodologies employed in large teams but it's also good practice when working on side projects.
If you are a Ruby on Rails engineer, you have most likely heard or even used Heroku, a platform as a service (PaaS), a cloud platform that lets companies build, deliver, monitor and scale apps. I have been using Heroku for a while now and it's a pleasure to work with.
Instead of going the longer route and setting up Circle CI or GitHub Actions, we can set up different environments on Heroku. Let's assume our app's name is called carpooler.
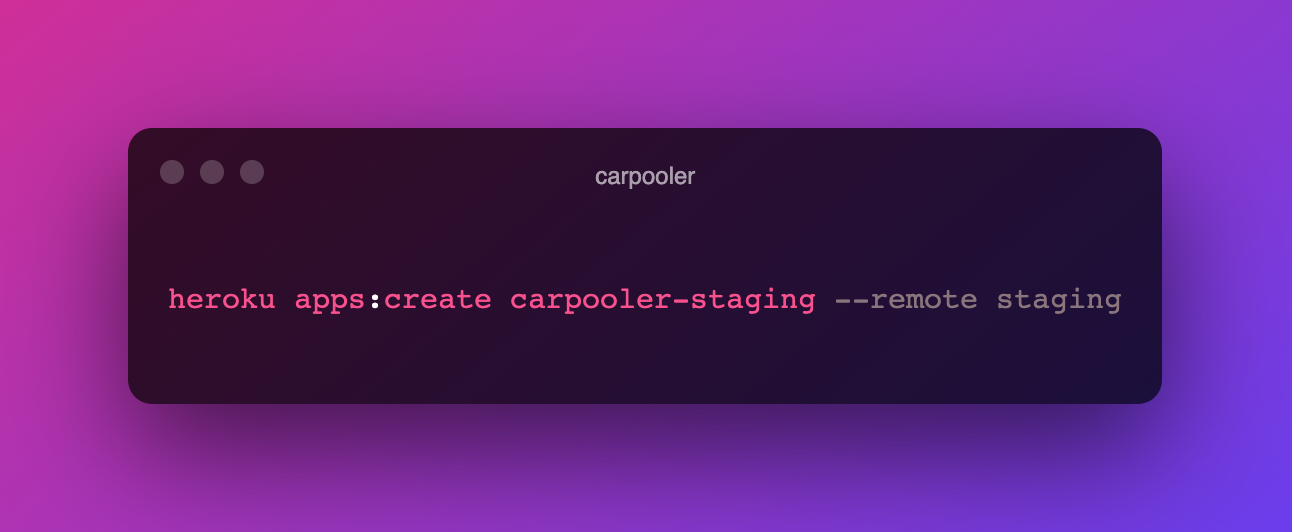
Staging
This is how you can create a staging environment on Heroku.
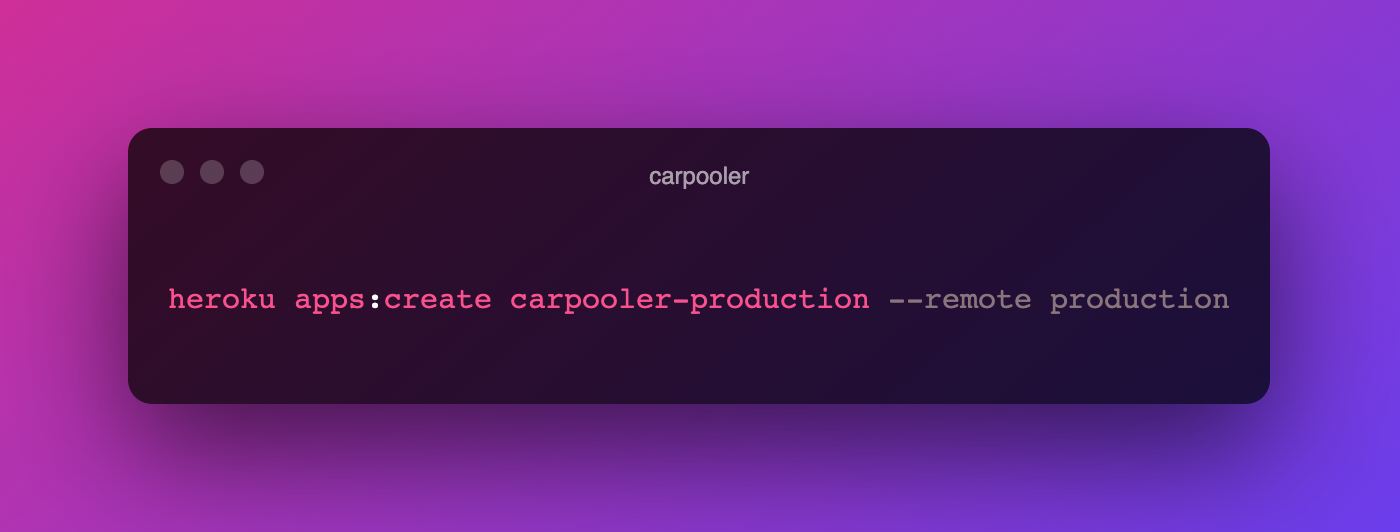
Production
This is how you can create a production environment on Heroku.
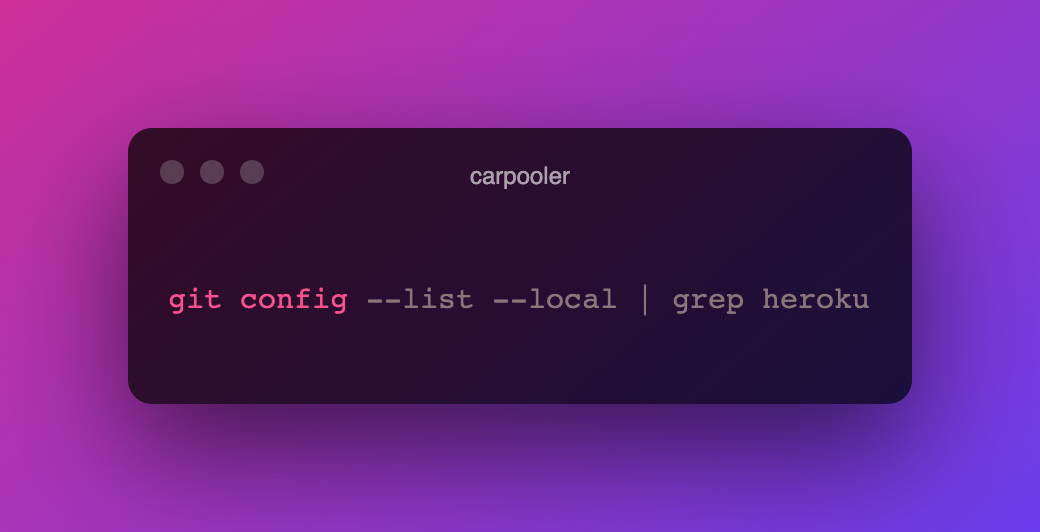
You can easily validate if these two new remotes were added to your git config file (.git) by running this command:
Because we haven't set up a more robust CI/CD pipeline, we will do manual pushes to our different environments. To do this for staging, you can run:

Main is the branch name which can be anything (here's an article on why the default branch was renamed from 'master').
In order to push to production after you've done your QA and validated everything on Staging, you can run an almost similar command:

And there you have it, different environments. Of course, there could be a better way but this works fine as well. You can catch me on Twitter if you wanna chat more on this.